Hunkydory Snow Globe Instructions
Lots of you have asked me for instructions for this snow globe kit from Hunkydory, please note the kit contains enough to make 4 snow globes and 4 boxes to post them in. The kit does not include the snowfall acetate or the swirl background card I used to decorate the box.
To start pop out the 4 layers of decoupage (as below) you can layer them with foam pads at this point
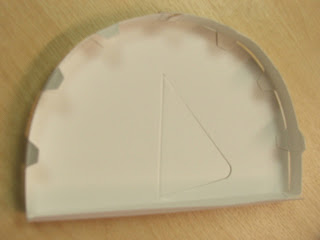
You will have a printed image inside the frame below, pop it out and save to decorated the box at the end. Bend the tabs on the card pieces upwards.
I used 3mm red tape to stick the tabs as below
Now add the second strip of card to create a frame around the card edge
Add the layered image in the centre, note the image is smaller than the semi circle just try and centre it as best you can, the frame will allow for any error in placement.
Sorry the next image is upside down, its just to show the layers of the image
I've added snowfall acetate to the frame, again fixing with red tape and then cutting off the excess
Add red tape to the long tab at the base of the card and on the small tabs
I made sure to stick the frame level with the bottom (below)
And there's your finished globe!!!!!! Oh I added one of the embellishments from the kit in the bottom corner.
The box is pretty simple, fold all your score lines and add red tape to the small tabs in each corner
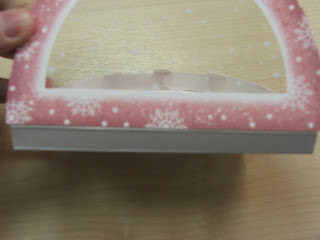
I've used the insert as mentioned in step 1 to decorate the box, and added some snowflake embellishments from the kit, Oh and the swirl background card (not in the kit)
Hope these instructions helped you to create beautiful globes!!!!!!!!!!


Thanks xxx
ReplyDelete