Wednesday, 29 May 2013

Art Journal/Mixed Media Pages May 2013


Art Journal/Mixed Media May 2013

For a long time now I've wanted to do more mixed media projects so this month I decided to run a workshop to create 5" x 7" artwork.
 

The "create" piece was made using a piece of mount board covered with sticky-back canvas, and "Stephanie Barnard" sprays to add colour to the background. I used a Ranger tred, and paint to add the leaves. A range of other products were used - gilding flakes, gilding wax, Liquid Pearls, UTEE, stamps, molds, Fimo, distress inks etc.


The "inspire" piece is my favourite, I used a Crafters Workshop stencil, distress inks, a newsprint stamp and some die cut flowers.

I liked the design so thought I would finally start an art journal and made this my first page (below images)


At this point I wanted to add some Zentangle (doodling)so the design was unique to me and more personal.


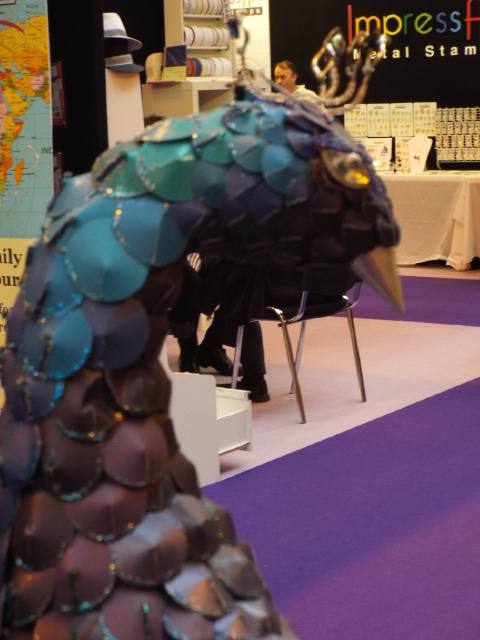
The images below are also created on Mount/canvas, using paints on the background, a peacock stencil, Distress inks, gilding flakes, Liquid Pearls, Clarity leaf stamps and UTEE and a cookie cutter for the leaves.


Well that's it for now.....more images to follow shortly x
 
More pics as promised.............


Crafty Blogs

Sunday, 7 April 2013

Embossing Paste

 Handmade Embossing Paste

 So many crafters will have tried using stencils and a range of pastes and mediums to create dimension with your craft projects, one of my customers mentioned to me they had seen a demonstration with homemade paste using paint and decorators filler, so I thought I'd give it a try.
 
 
I used a ready mixed interior filler (other brands available), added a small amount of crafters acrylic paint and mixed with a metal spatula on a sheet of acetate.


I used a stencil from Crafters Workshop onto a torn piece of charcoal pearlescent card, and spread the paste with my spatula and lifted the stencil straight away before it dried.
 
I found that the filler dries quickly so if you are an impatient crafter like myself there's no waiting around, mine dried in about 10 minutes. I used my Ranger heat tool to speed up the drying time and there were no side effects to the filler and it dried quicker about 5 Minutes.
 

Wash your stencil straight away with warm soapy water to remove any of the filler and paint
 
 
This is the result you get......... 


I tried to experiment adding Glossy Accents, but the consistency becomes to runny and bleeds under the stencil. I also tried adding glitter, but it was lost in the colour and texture so didn't really give good results.
 
So give it a go and message me with your results!!!!!!!!!!!!

Crafty Blogs

Saturday, 16 March 2013

Stencils from Imagination Crafts

 
Stencils by Imagination Crafts
 
I have been experimenting with these gorgeous stencils from Imagination Crafts using a range of products and materials.

I really like using the sparkle medium, it's really easy to apply with a spatula, remove the stencil straight away and leave to dry. I keep a container of warm water to wash my stencils and they clean off really well.

The results are stunning with a high volume of glitter giving you maximum wow. I have tried the medium on fabric pictured above and it is flexible and seems quite robust. I would not recommend it for clothes as it would probably just wash off need to test this more!!!


The Sparkle medium is also beautiful on acetate (takes about an hour to dry in a warm room)


I also used the stencils with Distress Inks (below)


I have also used the stenils and sponged flake and glitter glue through the design and used gilding flakes as below, the owl stamp is from Clarity Stamps


Crafty Blogs

Friday, 22 February 2013

Birmingham Nec February 2013

Craft, Hobby and Stitch Show 2013

 
I had a great time on Sunday at the show and took pictures of the amazing show pieces on the DCWV stand.


I also met the lovely Kay Rutter from Hougie Crafts and purchased Everyone needs a Hougie 3
 

I bought lots of goodies from Imagination Crafts 


MJ Crafts is expanding stock by the week, with lots of new products to tempt you. Hope to see many of you soon, and please ask if you have any requests for new products. 


Tuesday, 5 February 2013

Exploding Box


Materials-
White Pearlescent card, Hunkydory-Autumn Days meadow glow topper pk, Bigz Tim Holtz- tattered florals die, Tonic daisy border punch, Embossing folder, Kanban gems, Acetate, Tattered rose distress inks, white spotted organza ribbon.


Crafty Blogs Follow Me on Pinterest

Thursday, 31 January 2013

MJ Crafts...........My handmade cards

MJ Crafts.....Handmade Cards

 
Here are some photo's of cards I have made as samples for the shop


I made the above card using some free papers from Scrapbook Magazine Issue 70. The card is 8 x8 with a circle cut throught the front (Xcut Scalloped Circles), the cut out has been lined up inside the card. I used a Memory box die-Chloe to cut the butterfly and distressed with antique linen. I die cut around a fairy image from the papers and backed on to another distressed circle. The card was finished with some pearls to embellish
 
I've used a Splodge Mask to emboss the silver card, free teddy bear stamp from Creative Stamping Issue 8, Polka Dot card from Hougie and Xcut scalloped heart die and some water colour pencils


I've used polka dot card from Hougie to make a Stepper card, free teddy bear stamp from Creative Stamping Issue 8, Ranger distress ink-Fired Brick and some water colour pencils


Side Stepper Card- Garden Party Papers from Dovecraft, free stamps from Creative Stamping Issue 8, Ranger Distress ink tattered rose, Promarker-blush, Xcut heart Scalloped die.


Summer Treats (Hunkydory) toppers and background cards, Xcut Circle scalloped die


Splodge Mask "Dotty Framer", Tim Holtz distress ink tattered rose, Hunkydory clear butterfly stamp

 
Spoldge away mask "coggs" embossed on to bronze pearlescent card through my Ebosser, torn edges inked with aged mahogany distress ink, Clarity stamps distress with frayed burlap and aged mahogany, clock face stencil from Crafters Workhop.


 Summer Treats (Hunkydory) toppers and background cards, Xcut Circle scalloped die
Crafty Blogs Follow Me on Pinterest